
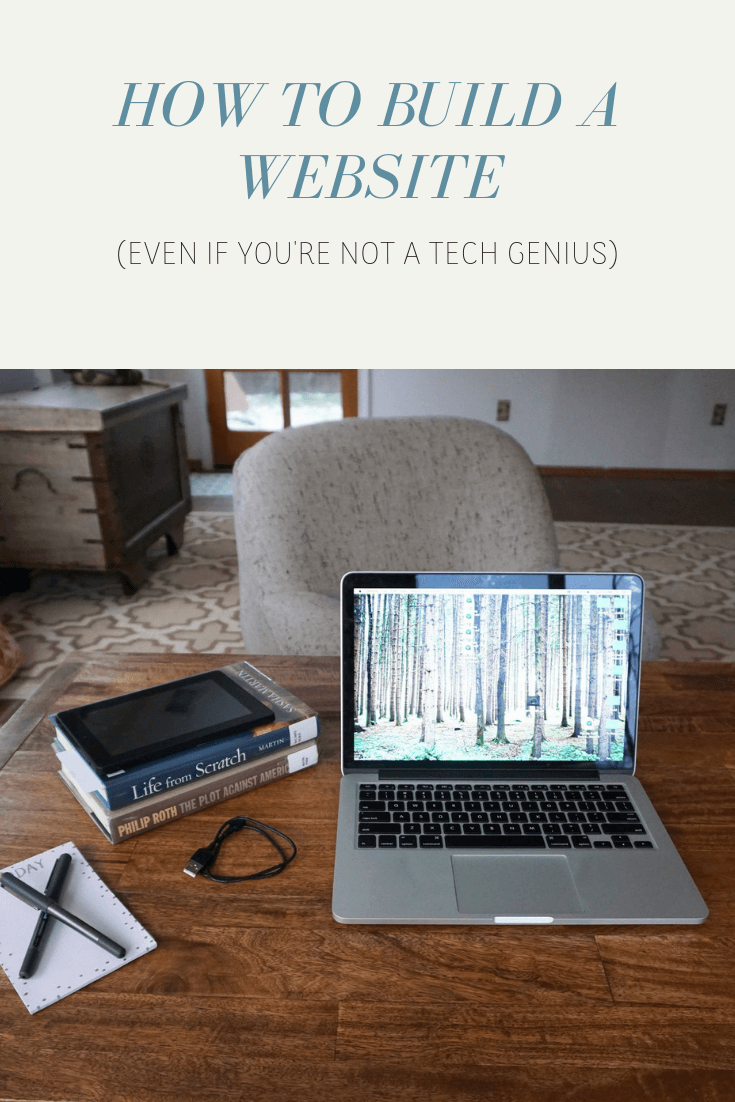
Week Six: How to Add Content to Your New WordPress Website
Welcome to the Free Online DIY Website Workshop—a seven-session course that’ll help you launch a website (even if technology baffles you). If you’re just now joining us, I recommend starting at week one.
Welcome back! You’re now officially in week six!
That means you’re in the home stretch, almost ready to launch this lovely little website into the world.
So, what’s next?
It’s time to take all that content you’ve written, those photos you’ve gathered, that SEO info you’ve pulled together and actually put them into your website.
This week, you’ll want to have your page tables, site map, and any photos or graphics you want to put into the site on hand.
Scroll down to get started.
(Psst, this post may contain affiliate links, which means if you purchase something through one of my links, I get a commission at no extra cost to you.)
Session One: Yoast SEO
Download the instructions to set your site up for SEO before you start putting content in.
Session Two: Photos & Media
* If you don’t already have a preferred way to resize images, here’s a list of free software that lets you edit photos (I personally use Photoshop, which you can try for free here; to resize images in photoshop, here’s a tutorial)
* If you aren’t sure what size your image needs to be, I recommend using Page Ruler. You’ll need to use Google’s Chrome browser (which you can download free for Mac or Windows) to download Page Ruler (which is also free). Once it’s downloaded, here’s how to use it to measure any photo on the front of your site.
Session Three: Adding & Editing Pages
This video is for the basic WordPress editor. If your page editor does not look like the one in the video, don’t fret. There are several new visual page editors out there that themes are using. Here are video instructions and intros for one of the most common (Visual Composer). And here’s how to use the Enfold advanced layout editor (which you can also turn off on any page if you want to use the basic editor demoed above).
If you prefer a written set of instructions (rather than the video), here they are.
Session Four: Adding & Editing Blog Posts
(If you’re not doing a blog, you can skip this.)
Session Five: Setting Up Your Navigation
Session Six: Customizing Your Footer
Optional Additional Resources
:: Building a blog? Here’s how to add or edit your blog’s sidebar.
:: Want to include a contact form on your website? I recommend joining Wufoo.com for free and creating a form there. To add it to your WordPress site, once you’ve created the form, just choose Share > Embed Form on the main form list page, copy the code in the Embed with Javascript area, and then paste that code into the Text area on your WordPress page.
:: Want to include a newsletter sign up? Here’s how you can get started free with MailChimp.
:: Starting a blog and want to send blog posts out by email? Start by setting up an RSS feed for your blog through Feedburner. Then set up an automatic email through mailchimp.
Questions?
If you run into a question or need clarification along the way, stop by the Facebook group. And don’t forget to pay it forward – if someone else helps you, try to help others along the way if you can.
For Individual Feedback…
If you would like some one-on-one consulting, feel free to reach out anytime! Hourly consulting costs $100 per hour and if you need a little more help, I’d be happy to send you a fixed bid based on your specific project.
Coming Up Next Week…
Your launch is just a week away! Click through to your final session to clean up any last bits and pieces, launch your site, and talk about ongoing website maintenance.
Leave a Reply