
A couple years ago, I finally gathered up my courage and attempted to roast a chicken for the first time.
For some reason, I’d always thought whole roasted chickens were difficult to make, that they were a huge time commitment, that they weren’t something I would be able to do.
But then I read a book about a chef teaching amateur cooks and when she described roasting a chicken, it didn’t sound so far. So I roasted my first chicken. And it was incredibly tasty and easy. And the next day, I took all the bones, tossed them in a pot with some onion, garlic, and herbs, and made my first pot of homemade bone broth.
I’ve been roasting chickens and making bone broth ever since.
Never letting any bits of the chicken go to waste.
Trying not to waste food has been a priority for me these past few years. When bread starts going stale, I make croutons or French toast. I plan our meals around what we have a lot of, what needs to be used up. And I’ve gotten pretty good at it.
But there was one thing I was still throwing out – and throwing out often.
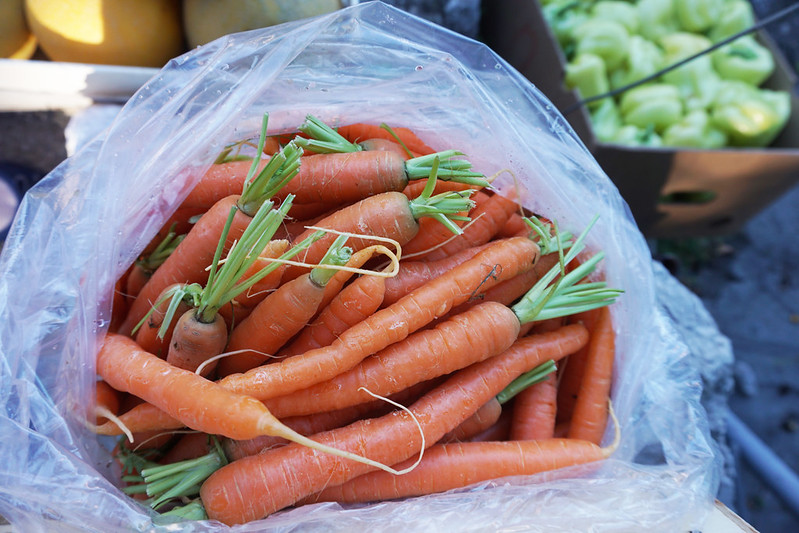
And that was the leftover bits of veggies. You know: the tip top and very bottom of the carrot, the inedible leaves on leeks, the ends of the onions, the skin on the garlic.
I guess I always figured these waste items were inevitable. No one eats the butt of the onion, right?
But then I stumbled upon an article about homemade vegetable stock. And I realized that all those leftover bits and bobs had a really brilliant use I hadn’t thought of.
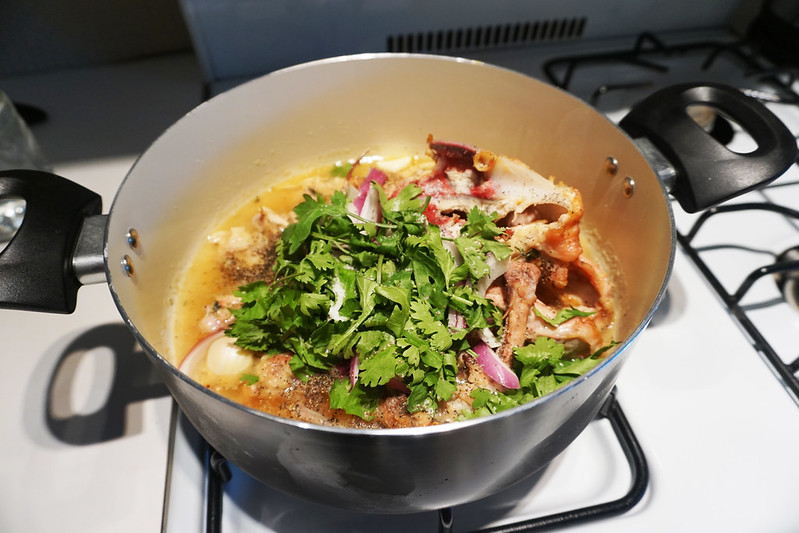
The chicken bone broth that started it all
And because I’d been doing bone broth for years now, the idea of homemade veggie stock didn’t feel so far out of reach.
So I started saving my veggie scraps in the freezer and every week I made a batch of veggie broth, which we used to make chicken pot pies and to boil pasta and to infuse sauces with more flavor. Chad drinks a glass every morning to hydrate and get some nutrients.
In case you’re also having an ah-ha moment about this, here’s how I do it (loosely based off that lovely article above):
1. Save the veggies.
I currently have a handful of large ziplock bags in the fridge. When I’m chopping veggies now, the bits I would have thrown away before go into these bags.
I use multiple bags both because I can end up with a lot of scraps by the time I make a batch of broth and because I want to keep complimentary flavors together and not use an overpowering amount of one thing.
For example: I love onions and I use them in tons of my cooking, which means I can have a surplus of onion scraps. If I don’t want a batch of broth to be too oniony, I split the scraps into two of the bags (each bag represents one pot of broth). Same thing with leeks. We use a LOT of leeks lately, so I split the scraps up into multiple bags so that the broth is not just leek flavored.
Now, in addition to veggie scraps, I also save:
:: Herbs (if you buy fresh and they’re about to turn, just toss them into your bags – making sure to not do too many in one as herbs have really powerful flavor)
:: Hard cheese rinds (like Parmesan)
:: Egg shells (this is a new thing that was recommended to me and I’m trying – it apparently increases the calcium content of your broth)
:: Full veggies that are about to turn (no matter how careful I am with our shopping, sometimes I just can’t use a whole container of mushrooms or a full bundle of carrots before they go bad. If they look like they’re about to turn or I know I won’t be able to use them up, into the bags they go)
2. Make the broth.
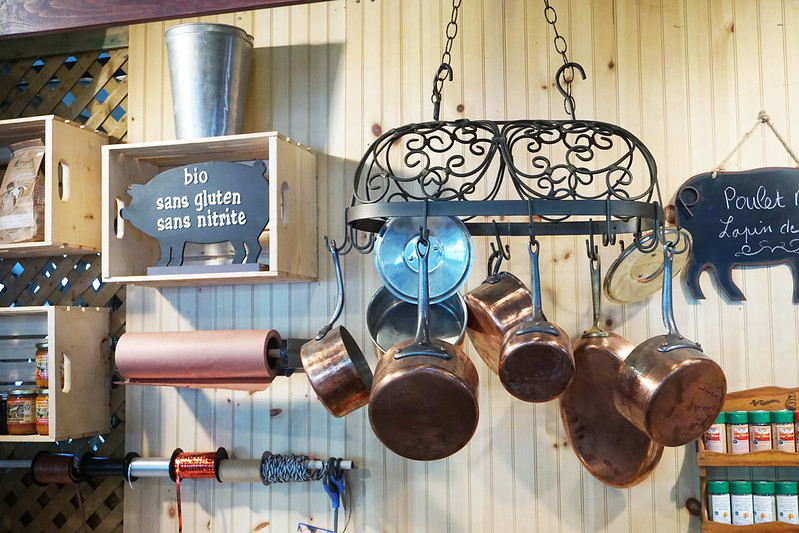
You can do this in a large pot on the stovetop or a crockpot. Since we have the latter here, that’s what I’ve been using this winter. When we’re in a place without a crockpot, I’ll be turning back to the trusty stovetop.
Either way, grab your crockpot or large pot and dump in your veggies. I like to fill the pot about 3/4, but you can certainly do less and still get a lot of flavor. I usually also add a couple whole cloves of garlic (no need to chop or take off the skin – just toss them in whole) and a little more onion. Season it with some salt (start small; you can always add more salt as you go).
When I use the stovetop, I turn it on a very low setting and let the broth simmer slowly. When I use the crockpot, I start on high for an hour or so, then turn it down to low. Either way, I simmer it somewhere between 1.5 and four hours. I start tasting the broth an hour or two into the process and add a little salt until it feels like it has the right flavor.
3. Drain, salt, and enjoy!
Once the broth tastes delicious and has been simmering for at least an 1.5 hours, pour the liquid into a container (I use a mixing bowl) while using a strainer to keep the now-mushy veggies out. Don’t worry if there are some herbs still floating around or very small bits of veggie.
Taste the broth again. Does it taste salty enough for you? If not, this is a good time to add a bit of salt and stir to dissolve.
Now you can use it, refrigerate it, or freeze it (people swear by freezing it into ice cubes for later use). We go through ours in a little less than a week, so we just keep it in the fridge.
Tips & tricks
Finally, something I’ve learned by trial and error:
Not all veggies are created equal.
Broccoli stems and kale leftovers make very bitter broth. I’d recommend staying away from those (and honestly ever since that batch I’ve been leery of other dark green veggies too).
On the other hand, you can be a bit heavy-handed with some other veggies and the broth just tastes more delicious. If you love onions, go heavy on the onion for a broth that tastes a bit like onion soup. Love mushrooms? Get a nice umami broth by using lots of mushrooms. Leeks are also brilliantly full of flavor and make a nice base.
If you like a little kick, a bit of jalapeno will add a nice jolt.
So, in case you’ve been wondering what I’ve been doing holed up in the Colorado mountains this winter: this is the answer.
Broth. Broth. And more broth.
I’m delighted. And hope you will be too.